- 网站导航 -
Address:Home > Products > Welding fixture >
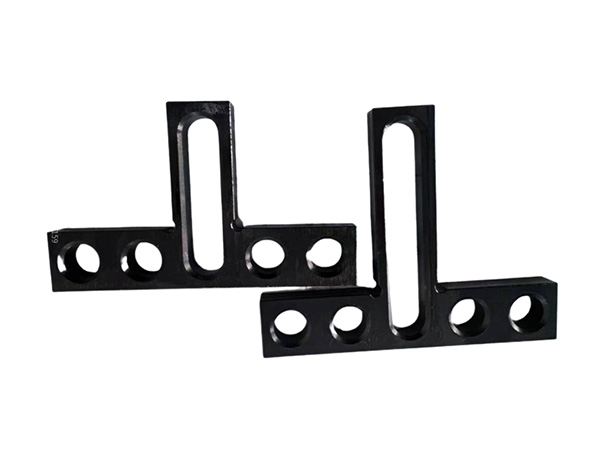
T-shaped squares can be divided into cast iron squares, magnesium aluminum squares and granite squares according to materials.
cast iron square
Made of high-quality stone through mechanical processing and manual grinding. Black gloss, fine structure, uniform texture, good stability, high strength, can maintain appropriate accuracy under heavy load and normal temperature, and has the advantages of no rust, stable performance, non-magnetization, and no deformation. Used for detection, measurement, marking, equipment installation, and industrial engineering construction. The cast iron ruler is manufactured according to the GB/6318-85 standard. The material is HT250. The working surface adopts scraping or fine grinding process. It is used to measure the straightness and flatness of the workpiece and equipment installation. The operating temperature is (20±5℃).
Granite square ruler is made of high-quality "Jinan Qing" stone through mechanical processing and hand-finished grinding. Black gloss, fine structure, uniform texture, good stability, high strength, can maintain appropriate accuracy under heavy load and normal temperature, and has the advantages of no rust, stable performance, non-magnetization, and no deformation. Used for detection, measurement, marking, equipment installation, and industrial engineering construction.
Magnesium-aluminum squares are also called magnesium-aluminum alloy squares. They are light and easy to carry. They do not allow magnesium-aluminum squares to deform easily, and their yield points exceed those of ordinary steel, cast iron, etc. Refers to the measuring instrument that the measuring surface and the base surface are perpendicular to each other and used to check right angles, verticality and parallelism. It is also called a bent ruler, a back ruler, and a 90-degree square. It has a simple structure and is easy to use. It is one of the commonly used measuring instruments in equipment installation, adjustment, marking and platform measurement.
Instructions:
(1) The right-square is generally used to inspect fine measuring tools; Level 1 is used to inspect fine workpieces; Level 2 is used to inspect general workpieces.
(2) Before use, check whether all working surfaces and edges are bruised. The left and right sides of the long side of the square and the top and bottom sides of the short side are the workpiece surfaces (i.e. internal and external right angles). Wipe the working surface of the ruler and the working surface to be inspected clean.
(3) When in use, place the right-angle ruler against the working surface of the workpiece to be measured, and use the light gap method to identify whether the angle of the workpiece is correct. Pay attention to handling, leaning and placing gently to prevent bending and deformation.
(4) In order to obtain accurate measurement results, the square ruler can be turned over 180 degrees and measured again. The arithmetic mean of the two readings is taken as the measurement result, and the deviation of the square ruler itself can be canceled.

